Quick Weeknight Keto Berry Crisp
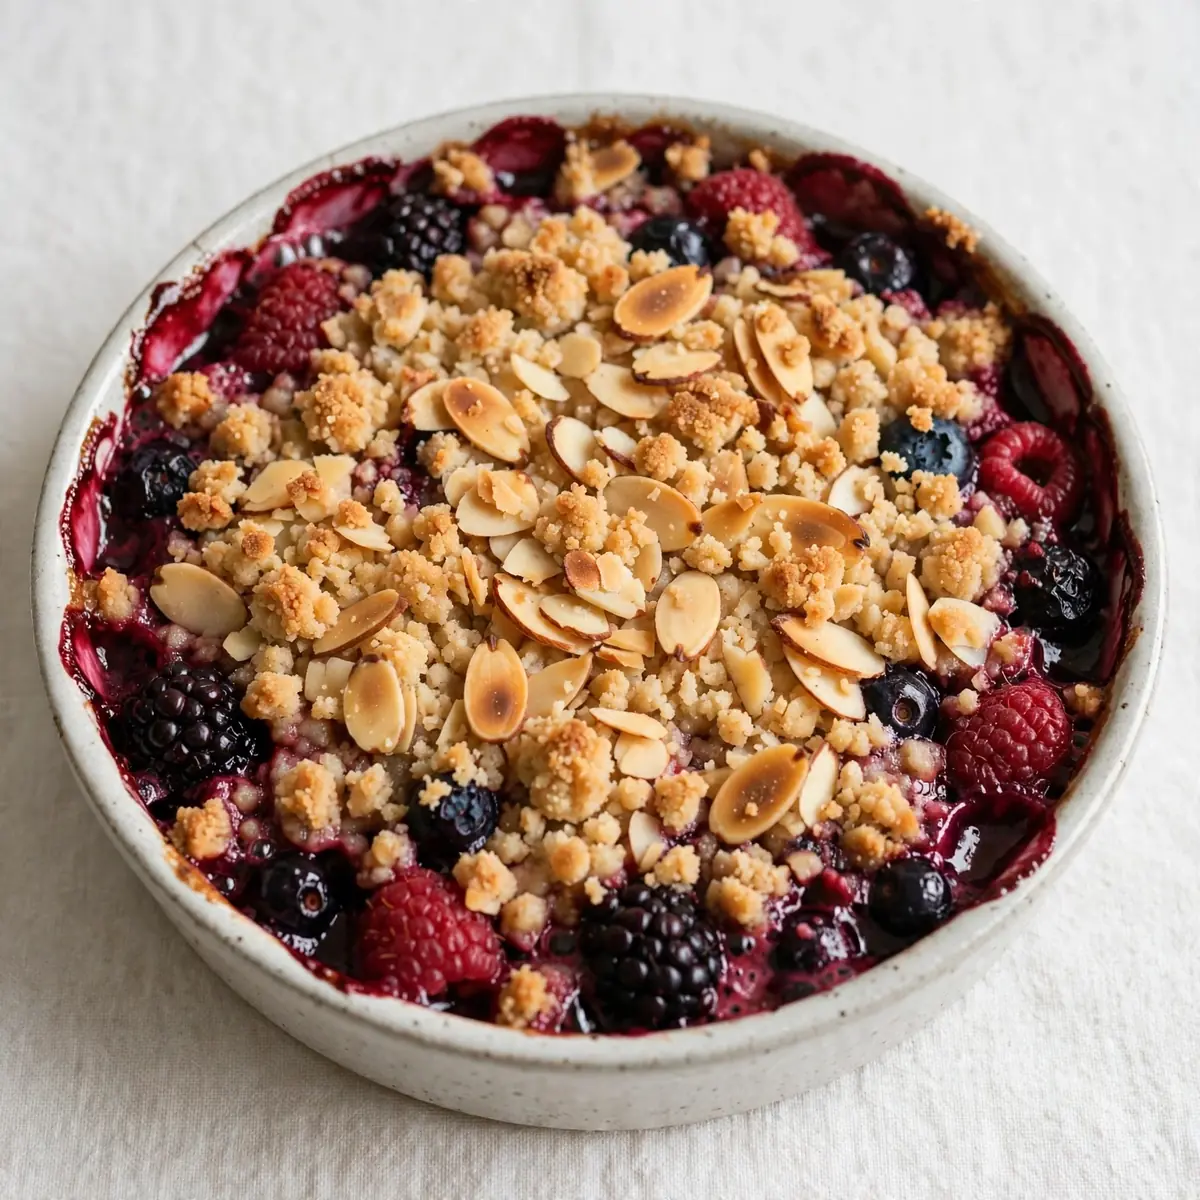
Between school pick-ups, work deadlines, and the general chaos of a Tuesday, finding time to pull off a dessert that feels special without costing you an hour of scrubbing pans seems near impossible. I’ve been making this Keto Berry Crisp for over 5 years, and it never disappoints, mainly because the entire thing comes together in a single dish and the almond crust topping does all the heavy lifting. Let’s get straight to it, because you deserve a warm, berry-filled bowl of comfort without the mountain of washing up.
Recipe Overview
- Prep Time: 10 minutes
- Cook Time: 25 minutes
- Total Time: 35 minutes
- Servings: 6
- Difficulty: Easy
Why You’ll Love This Keto Berry Crisp (Almond Crust Topping)
- One-bowl wonder: You mix the filling and the topping in the same dish, meaning fewer items to wash and more time to put your feet up.
- Ready in under 35 minutes: From fridge to table in the time it takes to watch a short programme, this fits neatly into even the most frantic evening.
- Uses frozen berries: No need to worry about fresh fruit going off — keep a bag in the freezer and you’re always prepared for a dessert emergency.
- Make-ahead magic: Assemble it in the morning, pop it in the fridge, and simply bake when you’re ready. The topping stays beautifully crisp.
- Actually satisfying for everyone: My husband, who’s usually picky, asked for seconds! The buttery almond topping feels indulgent, but it’s completely grain-free and low-carb.
Ingredients You’ll Need
- 500g frozen mixed berries (strawberries, blueberries, raspberries, blackberries)
- 60g powdered erythritol or allulose (for the berry filling)
- 1 tablespoon lemon juice
- 1 teaspoon vanilla extract
- 1 tablespoon arrowroot powder or xanthan gum (to thicken the berry juice)
- 150g almond flour (for the crust topping)
- 50g chopped pecans or walnuts
- 60g powdered erythritol or allulose (for the topping)
- ½ teaspoon ground cinnamon
- ¼ teaspoon salt
- 80g unsalted butter, melted (or coconut oil for dairy-free)
Tip: If you only have fresh berries, that works too — just reduce the bake time by 5 minutes, as fresh fruit releases less liquid than frozen.
How to Make Keto Berry Crisp (Almond Crust Topping)
- Preheat your oven to 180°C (350°F). While it heats, grab a 20cm square baking dish or a similar-sized ovenproof skillet — no need to grease it if you’re using a non-stick surface.
- Prepare the berry filling directly in the dish: Tip the frozen berries straight into your baking dish. Sprinkle over the 60g powdered sweetener, lemon juice, vanilla, and arrowroot powder. Stir gently with a fork until the berries look glossy and the powder has mostly disappeared. You’ll see a few icy crystals still clinging to the fruit — that’s fine; they’ll melt during baking.
- Make the almond crust topping in the same bowl: In a separate medium bowl (or if you’re being clever, use the bowl you just used for the berries after a quick wipe), combine the almond flour, chopped nuts, remaining 60g sweetener, cinnamon, and salt. Pour in the melted butter and stir with a fork until the mixture resembles damp, crumbly sand. It should clump together slightly when pressed between your fingers — that’s the sign you’re after.
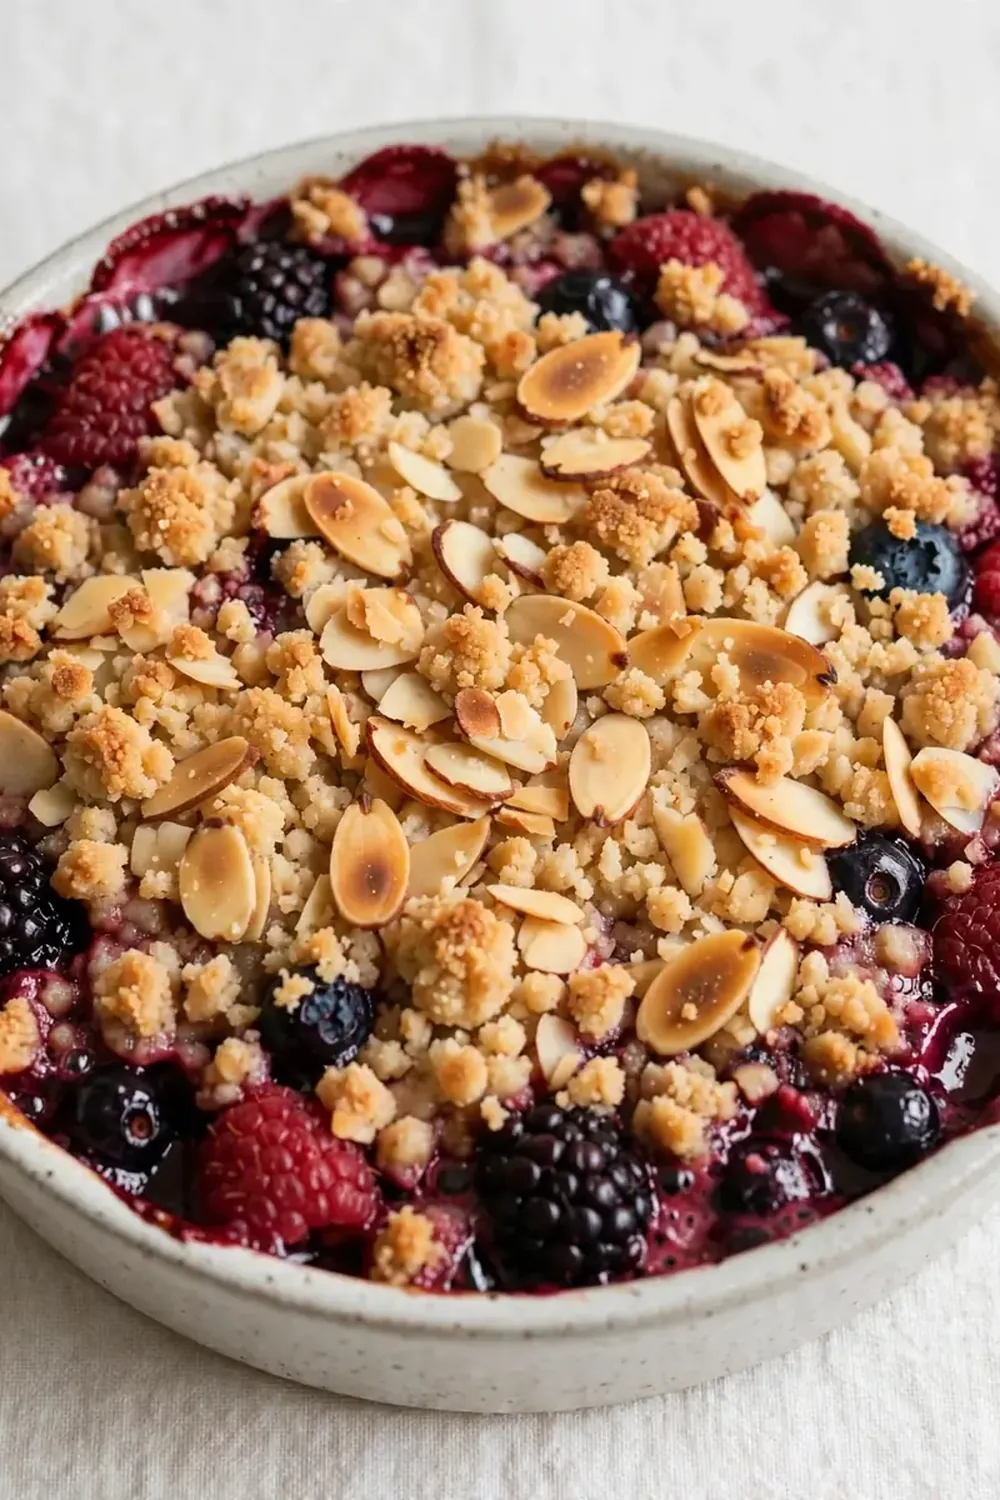
- Assemble the crisp: Sprinkle the topping evenly over the berries. Don’t press it down — leave it loose so it can form those golden, crunchy clusters as it bakes. The berries should still be visible peeking through the topping in places.
- Bake until bubbling and golden: Place the dish on a baking tray to catch any drips (trust me on this). Bake for 22–28 minutes. You’ll know it’s ready when the berry juice is bubbling thickly around the edges — you’ll hear it hissing and popping — and the topping has turned a deep, toasted brown. The kitchen will smell like a bakery.
- Rest before serving: Pull the dish out and let it sit for at least 10 minutes. This is crucial — the filling needs time to set into a jammy, spoonable consistency rather than a runny mess. The topping will also firm up slightly as it cools, giving you that satisfying crunch.
Tips From My Kitchen
- Don’t skip the thickener: Berries, especially frozen ones, release a lot of liquid as they cook. Arrowroot or xanthan gum prevents a watery filling. If you skip it, you’ll end up with berry soup beneath a soggy topping — not what we’re after. I use arrowroot because it’s more natural and doesn’t leave any weird texture.
- Toast your nuts first for extra depth: If you have an extra 3 minutes, toast the chopped pecans or walnuts in a dry pan over medium heat until they smell fragrant and look slightly darker. This step deepens their flavour and adds an extra layer of richness to the topping. I do this while the oven preheats.
- Use a baking tray underneath: Even if your dish seems deep enough, berry juice has a tendency to bubble over. A simple baking tray catches any spillage and saves you from scrubbing burnt sugar off the bottom of your oven. I learned this the hard way after a sticky clean-up session.
- Make it ahead for busy nights: Assemble the crisp completely (filling and topping) in the baking dish, cover it with foil, and store it in the fridge for up to 24 hours. When you’re ready, just pop it straight into the oven — add 5 extra minutes to the bake time since it’s starting cold. This is a lifesaver on days when you know you’ll be racing home.
- Double the topping for extra crunch: If you’re someone who loves a generous, thick crust (I definitely am), feel free to multiply the topping ingredients by 1.5. The berry-to-topping ratio is flexible, and more of that buttery almond crumble is never a bad thing.
Equipment You’ll Need
- 20cm square baking dish or small ovenproof skillet
- Medium mixing bowl
- Fork or spoon for stirring
- Baking tray (to catch drips)
- Measuring cups and spoons
Common Mistakes to Avoid
- Overcrowding the dish: Using a dish that’s too small means the berries pile up too high and steam instead of roasting, leading to a watery, unevenly cooked crisp. Use a dish that allows the berries to sit in a single, even layer — about 2–3 berries deep maximum. This ensures the filling thickens properly and the topping gets crisp.
- Wrong temperature: Baking at too low a temperature (below 170°C) will cause the berries to release all their liquid before the topping has a chance to brown, resulting in a soggy, pale mess. Stick to 180°C — it’s the sweet spot where the topping toasts beautifully while the berries bubble into a jammy consistency.
- Skipping the rest time: I know it’s tempting to dig in straight from the oven, but the filling needs those 10 minutes to set. If you serve it immediately, the juices will run all over the plate, and the topping will slide off into a sad, wet heap. Patience pays off here — the texture difference is night and day.
Delicious Variations to Try
- Spicy Version: Add ½ teaspoon of ground ginger and a pinch of cayenne pepper to the almond topping. The warmth of the spices complements the tartness of the berries beautifully, creating a grown-up flavour that’s unexpected and lovely.
- Vegetarian/Vegan Option: Swap the butter for melted coconut oil or a good-quality vegan butter block. Use coconut oil for a subtle tropical note, or vegan butter if you want to keep the classic buttery taste. Everything else in the recipe is already plant-based.
- Different Protein: While this is a dessert, you can turn it into a satisfying breakfast by serving it alongside a scoop of Greek yoghurt or a dollop of cottage cheese. For a savoury twist that still feels like a meal, pair it with the Chicken Parm Cottage Cheese Bowl for a balanced plate.
What to Serve With Keto Berry Crisp (Almond Crust Topping)
- A generous dollop of thick double cream or clotted cream
- Sugar-free vanilla ice cream or frozen yoghurt
- A spoonful of full-fat Greek yoghurt for a tangy contrast
- On its own, warm from the dish, with nothing else — sometimes that’s all you need
Still hungry for ideas? You might also love Mixed Berry Crisp Recipe, Crispy Sweet Rhubarb Crisp With Oat Topping from our sister kitchens.
Frequently Asked Questions
Keto Berry Crisp (Almond Crust Topping)
Ingredients
Method
-
Preheat your oven to 180°C (350°F). While it heats, grab a 20cm square baking dish or a similar-sized ovenproof skillet — no need to grease it if you’re using a non-stick surface.
-
Prepare the berry filling directly in the dish: Tip the frozen berries straight into your baking dish. Sprinkle over the 60g powdered sweetener, lemon juice, vanilla, and arrowroot powder. Stir gently with a fork until the berries look glossy and the powder has mostly disappeared. You’ll see a few icy crystals still clinging to the fruit — that’s fine; they’ll melt during baking.
-
Make the almond crust topping in the same bowl: In a separate medium bowl (or if you’re being clever, use the bowl you just used for the berries after a quick wipe), combine the almond flour, chopped nuts, remaining 60g sweetener, cinnamon, and salt. Pour in the melted butter and stir with a fork until the mixture resembles damp, crumbly sand. It should clump together slightly when pressed between your fingers — that’s the sign you’re after.
-
Assemble the crisp: Sprinkle the topping evenly over the berries. Don’t press it down — leave it loose so it can form those golden, crunchy clusters as it bakes. The berries should still be visible peeking through the topping in places.
-
Bake until bubbling and golden: Place the dish on a baking tray to catch any drips (trust me on this). Bake for 22–28 minutes. You’ll know it’s ready when the berry juice is bubbling thickly around the edges — you’ll hear it hissing and popping — and the topping has turned a deep, toasted brown. The kitchen will smell like a bakery.
-
Rest before serving: Pull the dish out and let it sit for at least 10 minutes. This is crucial — the filling needs time to set into a jammy, spoonable consistency rather than a runny mess. The topping will also firm up slightly as it cools, giving you that satisfying crunch.
Notes
There you have it — a warm, bubbling Keto Berry Crisp that slides into your weeknight routine without fuss or fanfare. I’d love to hear how it turns out in your kitchen, so drop a comment below and let me know if your family went back for seconds like mine did. For more speedy dessert ideas that won’t derail your goals, have a look at the 5 Minute Sugar Free Chocolate Covered Strawberries or browse through the Desserts section for more inspiration.