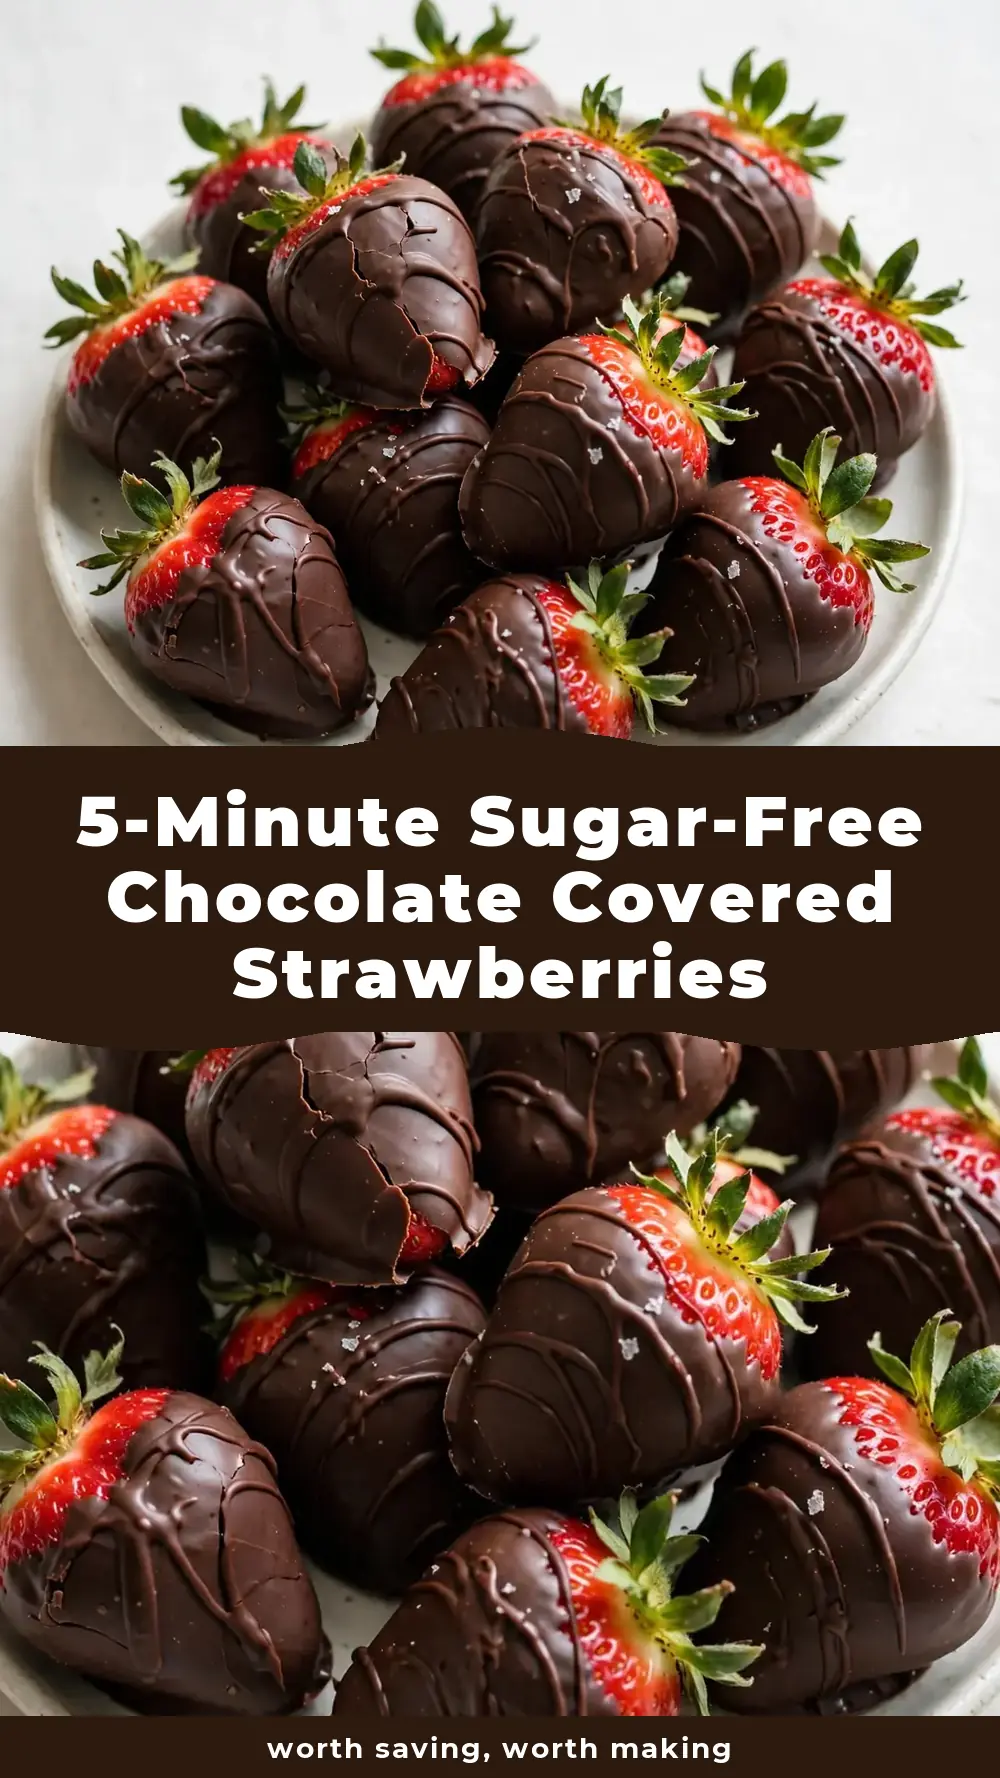
5-Minute Sugar-Free Chocolate Covered Strawberries
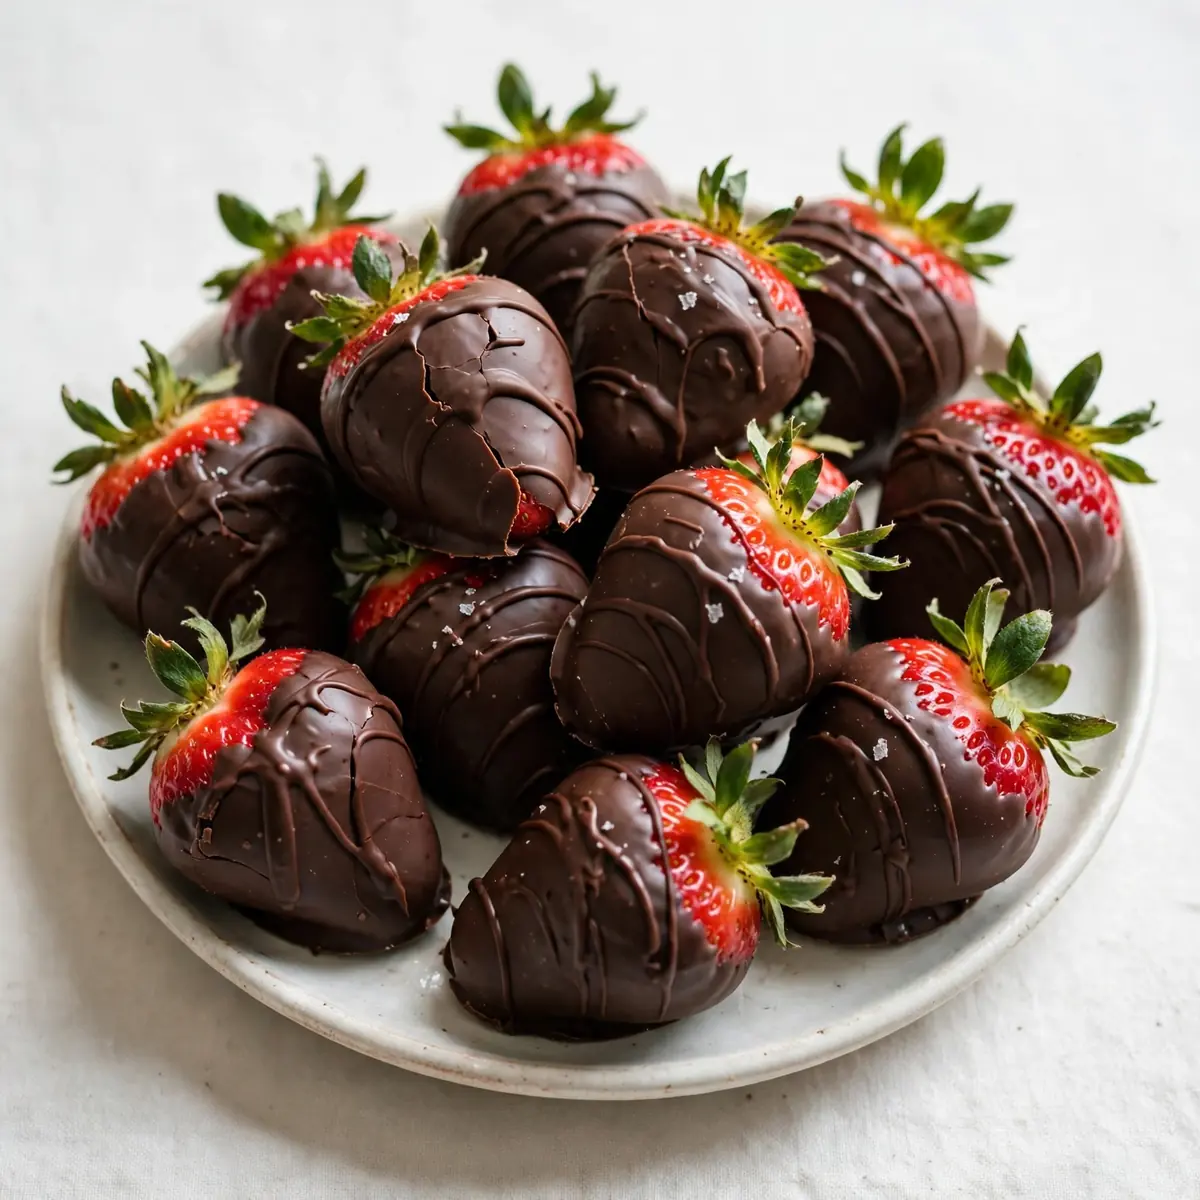
Most nights, I’m racing the clock between school pick-up and that last hour before bedtime, so a dessert that feels special without requiring a separate baking session is my secret weapon. That’s exactly how these sugar-free chocolate covered strawberries came to be—a five-minute assembly that transforms a simple fruit into a showstopping treat, all while the kids are washing their hands for dinner.
Recipe Overview
- Prep time: 10 minutes
- Cook time: 5 minutes
- Total time: 15 minutes (plus 20 minutes setting time)
- Servings: 4–6 people (approximately 20–24 strawberries)
- Difficulty: Easy
Why You’ll Love This Sugar-Free Chocolate Covered Strawberries
- No baking required: You only need the stovetop for a couple of minutes to melt the chocolate, so the oven stays off and the kitchen stays cool.
- Minimal washing up: One bowl, one fork, one tray—I can have the entire mess cleared away before the chocolate has even set.
- Make-ahead friendly: You can prepare these in the morning and leave them in the fridge, ready to pull out right as you sit down to eat.
- Kid-friendly activity: My kids absolutely devour this every time I make it, and they love helping to dip the strawberries themselves.
- Diet-friendly: Using sugar-free chocolate means everyone at the table can enjoy a sweet finish, regardless of dietary restrictions.

Ingredients You’ll Need
- 400g fresh strawberries, with leaves still attached
- 200g sugar-free dark chocolate (minimum 70% cocoa solids), broken into small pieces
- 1 tablespoon coconut oil (helps the chocolate set with a glossy finish)
- 1 teaspoon vanilla extract (optional, but rounds out the chocolate flavour)
- Pinch of sea salt flakes (optional, for sprinkling)
- 30g chopped pistachios (for coating, if desired)
- 20g desiccated coconut (unsweetened, for coating)
- 1 tablespoon freeze-dried raspberry powder (optional, for a tangy dusting)
Tip: Make sure your strawberries are completely dry before you start dipping—any moisture on the surface will cause the chocolate to seize and turn grainy. Pat them gently with kitchen paper if needed.
How to Make Sugar-Free Chocolate Covered Strawberries
- Prepare the strawberries: Wash the strawberries thoroughly under cold running water, then pat each one completely dry with a clean tea towel or kitchen paper. Leave the green leaves and stems intact—they act as a handy handle for dipping. You should see no water droplets on the fruit at all; the berries should look matte and dry.
- Melt the chocolate: Place the broken chocolate pieces and the coconut oil in a heatproof bowl set over a saucepan of barely simmering water. Make sure the bottom of the bowl does not touch the water. Stir gently with a spatula until the chocolate is mostly melted, then remove the bowl from the heat and continue stirring until it is completely smooth and glossy. You’ll feel the mixture turn from thick and lumpy to silky and fluid—that’s your cue that it’s ready.
- Add the vanilla: Stir in the vanilla extract if using. The aroma will become noticeably richer and more fragrant, almost like a dark chocolate truffle.
- Dip the strawberries: Hold a strawberry by its leaves and dip it into the melted chocolate, twisting gently to coat about three-quarters of the berry. Lift it out and let the excess chocolate drip back into the bowl for a few seconds. You should see a smooth, even layer clinging to the red flesh with no bare patches.
- Set the strawberries: Place the dipped strawberry onto a baking tray lined with baking paper. If you want to add a coating (pistachios, coconut, or raspberry powder), sprinkle it over the wet chocolate immediately before it starts to set. Continue with the remaining strawberries, leaving a little space between each one so they don’t stick together.
- Chill to set: Transfer the tray to the refrigerator and chill for at least 20 minutes. The chocolate should be firm to the touch and will make a slight tapping sound if you gently flick it with your fingernail. If the weather is cool, you can leave them on the counter for 30 minutes instead.
- Serve: Remove the strawberries from the fridge about 5 minutes before serving so they lose a little of their chill—this allows the chocolate to soften slightly and the flavour to bloom. Arrange them on a plate and enjoy immediately.
Tips From My Kitchen
- Dry your strawberries obsessively: After testing this recipe five times, I finally got it just right. The biggest revelation was that even one damp strawberry can ruin an entire batch. Water and melted chocolate are enemies—moisture makes the chocolate seize into a stiff, claggy mess. Dry each berry individually, then let them air-dry on a tea towel for another 10 minutes while you prepare the chocolate.
- Use room-temperature strawberries: If your strawberries are straight from the fridge, the cold will shock the warm chocolate and cause it to thicken too quickly, leaving you with uneven, lumpy coats. Let the berries sit on the counter for 15 minutes before you start dipping—they should feel cool but not icy to the touch.
- Add coconut oil for shine: That tablespoon of coconut oil isn’t just for show. It lowers the melting point of the chocolate slightly, which means it sets with a beautiful, mirror-like gloss rather than a dull, matte finish. It also helps the chocolate snap cleanly when you bite into it.
- Work in small batches: Don’t try to dip all the strawberries at once if you’re new to this. Dip four or five, let them set, then move on to the next batch. If the chocolate in the bowl starts to thicken as it cools, simply reheat it gently over the simmering water for 20 seconds.
- Make them ahead for busy nights: You can prepare these strawberries up to 24 hours in advance. Store them in a single layer in an airtight container in the fridge, separated by sheets of baking paper. Pull them out 5 minutes before serving for the best texture and flavour.
Equipment You’ll Need
- Large frying pan or skillet (if you prefer to melt chocolate using the dry-pan method, though the bain-marie is more reliable)
- Sharp knife and cutting board (for chopping nuts or any optional garnishes)
- Mixing bowls (one heatproof for melting, one small for coatings)
- Wooden spoon or spatula (silicone is best for scraping every last bit of chocolate)
- Baking tray and baking paper
- Kitchen tongs or a fork (for dipping, if you prefer not to use the leaves)
Common Mistakes to Avoid
- Overcrowding the pan: If you place too many strawberries in the chocolate bowl at once, they bump into each other and the chocolate layers become uneven. Work one berry at a time, and keep the dipped ones spaced apart on the tray so they don’t stick together as they set.
- Wrong temperature: Chocolate is sensitive—if you overheat it, it will burn and turn bitter. The water beneath your bowl should be barely simmering, not boiling. If you see steam rising in a steady stream and tiny bubbles forming at the bottom of the pan, you’re at the right temperature. The chocolate should never exceed 45°C.
- Skipping the rest time: I know it’s tempting to dive straight in, but if you eat the strawberries while the chocolate is still soft, the coating will smear all over your fingers and the berries won’t have that satisfying snap. The 20-minute rest in the fridge is non-negotiable for the best texture.
Delicious Variations to Try
- Spicy Version: Add a pinch of cayenne pepper and a tiny grind of black pepper to the melted chocolate before dipping. The warmth builds slowly on your tongue and contrasts beautifully with the sweet, juicy strawberry.
- Vegan Option: Use a dairy-free, sugar-free dark chocolate and replace the coconut oil with cacao butter for an even cleaner flavour. All other ingredients are naturally plant-based, so this variation is straightforward.
- Different Protein: While this recipe is about fruit and chocolate, you can turn it into a more substantial dessert by serving the strawberries alongside a scoop of sugar-free vanilla protein ice cream or a dollop of thick Greek yoghurt.
What to Serve With Sugar-Free Chocolate Covered Strawberries
- A small cup of strong black coffee or herbal tea to balance the sweetness
- A handful of mixed nuts for a salty contrast
- A simple Chicken Parm Cottage Cheese Bowl for a satisfying main course before dessert
- Fresh mint leaves for garnish and a refreshing palate cleanser
Still hungry for ideas? You might also love Homemade Chocolate Covered Cherries, 3 Ingredient Gluten Free Chocolate Banana Cookies Sugar Free from our sister kitchens.
Frequently Asked Questions
Sugar-Free Chocolate Covered Strawberries
Ingredients
Method
-
Prepare the strawberries: Wash the strawberries thoroughly under cold running water, then pat each one completely dry with a clean tea towel or kitchen paper. Leave the green leaves and stems intact—they act as a handy handle for dipping. You should see no water droplets on the fruit at all; the berries should look matte and dry.
-
Melt the chocolate: Place the broken chocolate pieces and the coconut oil in a heatproof bowl set over a saucepan of barely simmering water. Make sure the bottom of the bowl does not touch the water. Stir gently with a spatula until the chocolate is mostly melted, then remove the bowl from the heat and continue stirring until it is completely smooth and glossy. You’ll feel the mixture turn from thick and lumpy to silky and fluid—that’s your cue that it’s ready.
-
Add the vanilla: Stir in the vanilla extract if using. The aroma will become noticeably richer and more fragrant, almost like a dark chocolate truffle.
-
Dip the strawberries: Hold a strawberry by its leaves and dip it into the melted chocolate, twisting gently to coat about three-quarters of the berry. Lift it out and let the excess chocolate drip back into the bowl for a few seconds. You should see a smooth, even layer clinging to the red flesh with no bare patches.
-
Set the strawberries: Place the dipped strawberry onto a baking tray lined with baking paper. If you want to add a coating (pistachios, coconut, or raspberry powder), sprinkle it over the wet chocolate immediately before it starts to set. Continue with the remaining strawberries, leaving a little space between each one so they don’t stick together.
-
Chill to set: Transfer the tray to the refrigerator and chill for at least 20 minutes. The chocolate should be firm to the touch and will make a slight tapping sound if you gently flick it with your fingernail. If the weather is cool, you can leave them on the counter for 30 minutes instead.
-
Serve: Remove the strawberries from the fridge about 5 minutes before serving so they lose a little of their chill—this allows the chocolate to soften slightly and the flavour to bloom. Arrange them on a plate and enjoy immediately.
Notes
There you have it—a dessert that fits into even the busiest weeknight schedule without any fuss. Whether you serve them after a hearty meal like the ones you’ll find in our Lunch Recipes collection or just as a special treat for the family, these sugar-free chocolate covered strawberries are proof that simple ingredients can feel luxurious. I’d love to hear how they turn out for you—drop a comment below and let me know which variation your family loved most.