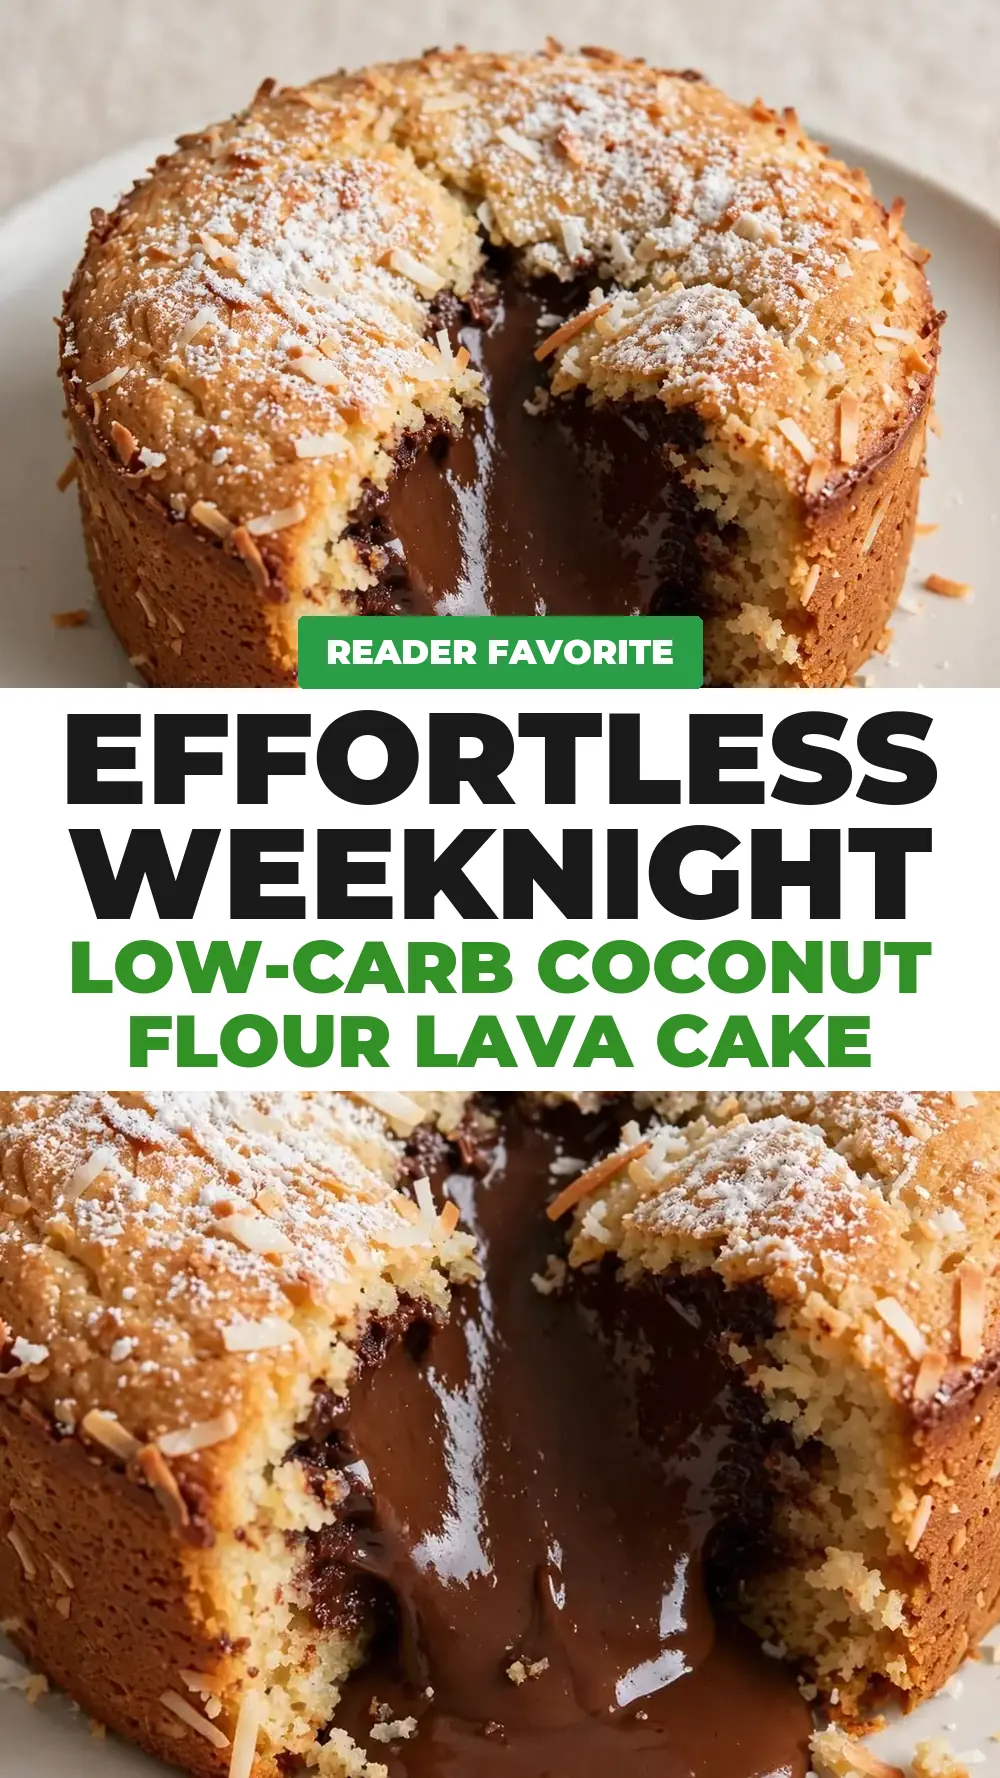
Effortless Weeknight Low-Carb Coconut Flour Lava Cake
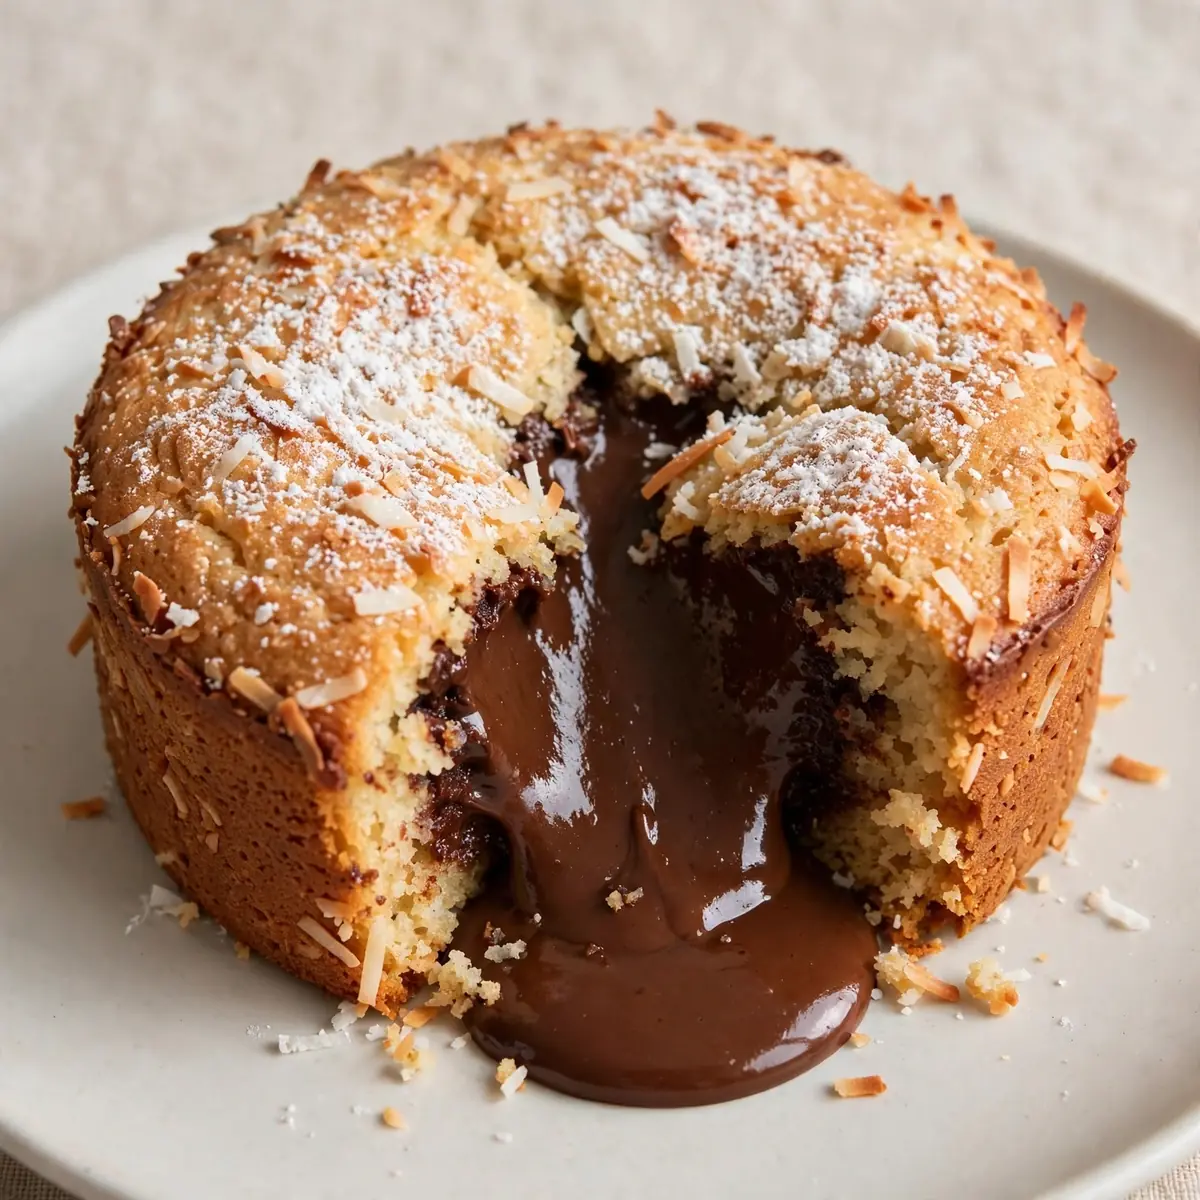
There are few things more rewarding than pulling a perfectly molten chocolate dessert from the oven on a Tuesday night when the kids are buzzing and you’re running on fumes. This Low-Carb Coconut Flour Lava Cake is my secret weapon for those exact evenings — it goes from mixing bowl to table in under 20 minutes, uses just one bowl, and the leftovers (if there are any) reheat beautifully the next day. Let’s get straight to it.
Recipe Overview
- Prep time: 5 minutes
- Cook time: 10-12 minutes
- Total time: 17 minutes
- Servings: 4 individual ramekins
- Difficulty: Easy
Why You’ll Love This Low-Carb Coconut Flour Lava Cake
- One-bowl, no mixer needed: You only need a whisk and a bowl — no stand mixer, no food processor, and hardly any washing up, much like these Quick Creamy Smothered Pork-Free Chops for Busy Nights. That means more time at the table and less time scrubbing, similar to the 5-Minute Cold Cuts Beef Roll-Ups Weeknight Dinner.
- Ready in under 20 minutes: This bakes in the time it takes to clear the dinner plates and pour a drink. It’s fast enough to make on a whim without planning ahead, similar to the 10-Min Creamy Cinnamon Keto Porridge.
- Make-ahead magic: You can prep the batter up to 24 hours in advance, store it in the fridge, and bake it straight from cold when you’re ready. That’s a game-changer for chaotic weeknights.
- Low-carb and gluten-free: Coconut flour keeps the carbs low and the texture light, so everyone at the table — whether they’re watching carbs or not — can enjoy a proper dessert.
- Naturally sweet and rich: The combination of dark chocolate and a touch of sweetener creates a deep, fudgy flavour that satisfies any chocolate craving without a sugar spike.
Ingredients You’ll Need
- 60g unsalted butter, melted (plus extra for greasing ramekins)
- 80g dark chocolate (70% cocoa or higher), chopped
- 2 large eggs
- 2 tablespoons granulated erythritol or monk fruit sweetener
- 1 teaspoon vanilla extract
- 2 tablespoons coconut flour
- 1 tablespoon unsweetened cocoa powder
- ¼ teaspoon salt
- Optional: 1 tablespoon strong brewed coffee (enhances chocolate flavour)
Tip: Make sure your eggs are at room temperature — this helps the batter emulsify properly and gives a smoother, more consistent lava centre.
How to Make Low-Carb Coconut Flour Lava Cake
- Preheat and prep: Set your oven to 200°C (400°F) and place a baking tray on the middle rack to heat up. Generously butter the inside of four 150ml ramekins and dust them lightly with cocoa powder — tap out the excess. You’ll see a thin, even coating that will help the cakes release cleanly.
- Melt the chocolate and butter: In a medium heatproof bowl, combine the chopped dark chocolate and melted butter. Microwave in 20-second bursts, stirring between each, until the mixture is smooth and glossy — about 60 to 80 seconds total. The chocolate should be fluid and shiny, with no lumps.
- Whisk the eggs and sweetener: In a separate large bowl, whisk the eggs, granulated sweetener, and vanilla extract together until the mixture is pale, thick, and slightly foamy — this takes about 1 minute of vigorous whisking. You’ll see the colour lighten and the texture become airy.
- Combine wet ingredients: Slowly pour the melted chocolate mixture into the egg mixture while whisking continuously. The batter will darken and become glossy, and you’ll smell the rich chocolate aroma. Whisk until fully combined and smooth.
- Add dry ingredients: Sift the coconut flour, cocoa powder, and salt over the batter. Fold gently with a spatula until no streaks of flour remain. The batter will be thick but not stiff — it should drop slowly from the spatula. If using coffee, stir it in now.
- Fill the ramekins: Divide the batter evenly among the four prepared ramekins, filling each about three-quarters full. Smooth the tops with the back of a spoon. At this point, you can cover and refrigerate them for up to 24 hours if making ahead.
- Bake: Place the ramekins on the preheated baking tray in the oven. Bake for exactly 10-12 minutes. The edges should look set and slightly puffed, while the centre will jiggle when you gently shake the tray. The tops will be matte, not shiny, and a skewer inserted 1cm from the edge should come out clean.
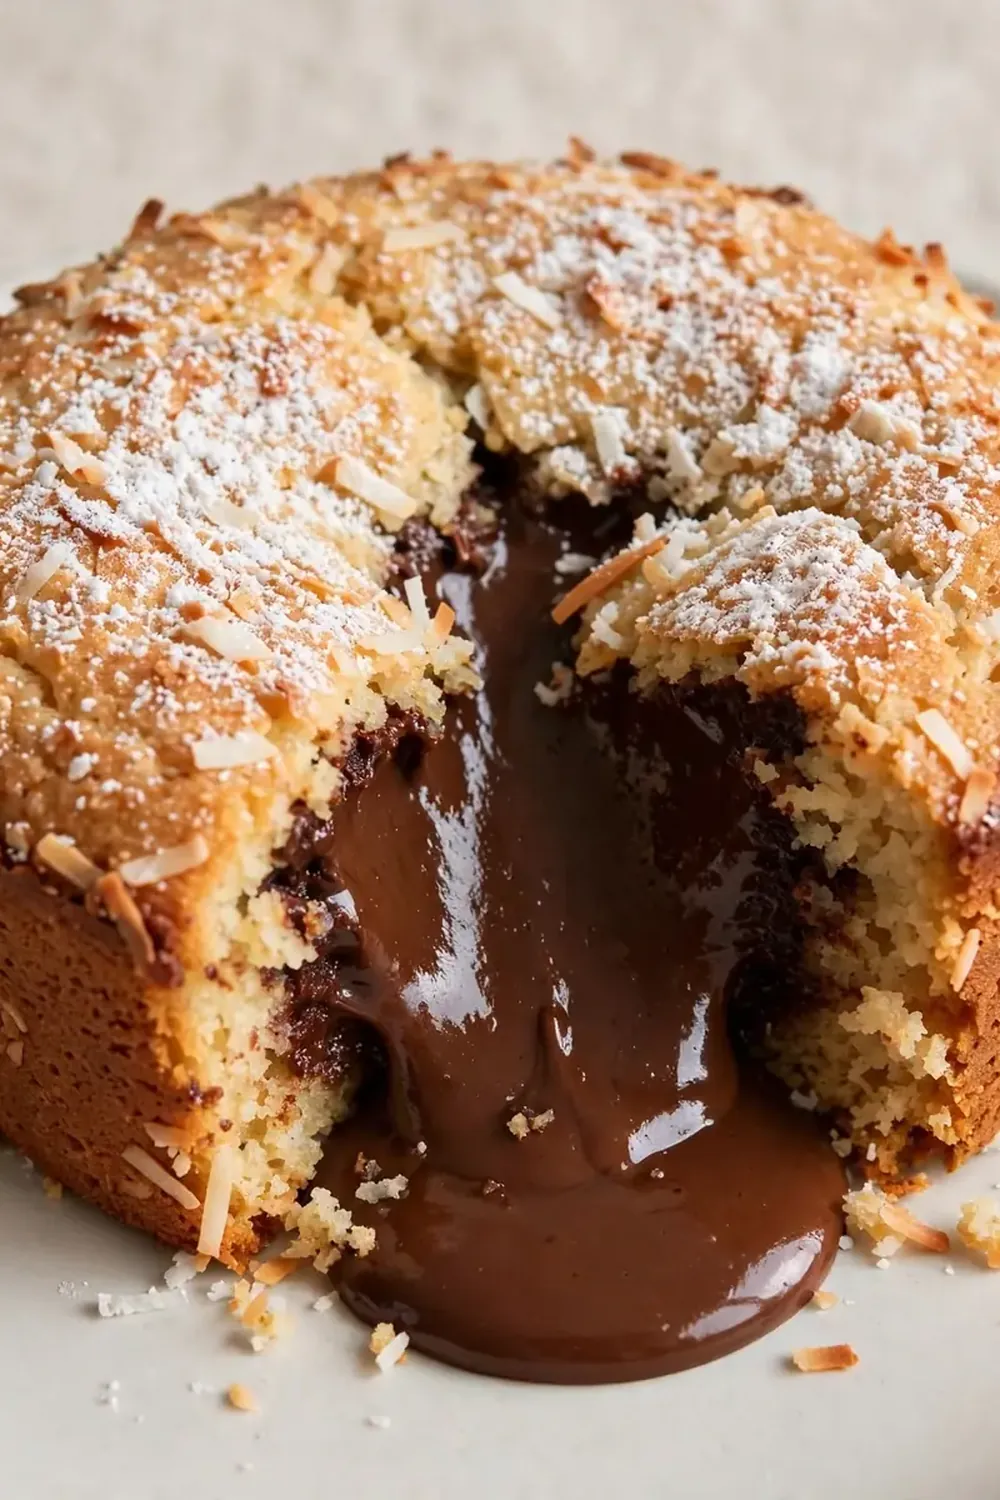
- Rest and serve: Remove from the oven and let the ramekins rest on a wire rack for exactly 1 minute. Run a thin knife around the edge of each ramekin, place a small plate on top, and invert. Lift the ramekin gently — the cake should release with a soft, molten centre spilling out. Serve immediately.
Tips From My Kitchen
- Use room temperature eggs: Cold eggs can seize the melted chocolate, creating a grainy batter. I always pull my eggs out of the fridge 20 minutes before starting. If you forget, place them in a bowl of warm water for 5 minutes — they’ll come to temperature quickly.
- Weigh your coconut flour: Coconut flour is incredibly absorbent and varies wildly by brand. I’ve found that weighing it (even if the recipe says cups) ensures the batter isn’t too dry. Too much flour and you’ll get a solid cake with no lava; too little and it won’t hold its shape.
- Don’t overbake: The window between perfect lava and fully baked cake is about 90 seconds. I recommend setting a timer for 10 minutes and checking. If the centre still looks very liquid, give it one more minute. Remember, the residual heat continues cooking after you remove them from the oven.
- Grease generously with butter: Coconut flour cakes can stick more than regular flour cakes. I use a pastry brush to coat every crevice of the ramekin with melted butter, then dust with cocoa powder — not flour, which can leave white patches. This ensures a clean release every time.
- Make ahead like a pro: Prepare the batter, fill the ramekins, and cover them tightly with cling film. Store in the fridge for up to 24 hours. When ready to bake, add 2 extra minutes to the baking time (12-14 minutes total). The lava centre will still be perfectly runny.
- Scale up or down easily: This recipe is simple to double for a larger crowd. Just use a larger bowl and bake in batches if your oven is small. You can also bake in a single 500ml dish for a shared lava cake — add 5-7 minutes to the bake time.
Equipment You’ll Need
- 4 x 150ml ramekins (or small oven-safe dishes)
- Medium heatproof bowl (for melting chocolate)
- Large mixing bowl
- Balloon whisk
- Silicone spatula
- Fine-mesh sieve (for sifting cocoa powder)
- Pastry brush (for greasing ramekins)
- Baking tray
- Wire cooling rack
Common Mistakes to Avoid
- Overcrowding the pan: The ramekins need space for hot air to circulate evenly. If you crowd them on the baking tray, the edges may cook faster than the centre, leading to uneven lava. Leave at least 2cm between each ramekin.
- Wrong temperature: Baking at too low a temperature (under 190°C) will result in a cake that sets on the outside but remains raw in the centre for too long, causing the lava to be too thin and watery. Stick to 200°C for the best structure.
- Skipping the rest time: That 1-minute rest after baking is critical. It allows the cake to firm up slightly so it releases from the ramekin without collapsing. Skip it, and you’ll end up with a messy puddle on your plate rather than a neat lava cake.
Delicious Variations to Try
- Spicy Version: Add ¼ teaspoon of cayenne pepper or a pinch of chilli flakes to the dry ingredients. The heat contrasts beautifully with the dark chocolate, and it’s a lovely surprise for spice lovers.
- Vegan Option: Replace the eggs with 2 tablespoons of ground flaxseed mixed with 6 tablespoons of warm water (let it sit for 5 minutes to form a gel). Use a high-quality vegan dark chocolate and coconut oil instead of butter. The texture will be slightly denser but still wonderfully molten.
- Different Protein: For an extra protein boost, stir in 1 scoop of unflavoured or chocolate collagen powder with the dry ingredients. You may need to add 1 extra tablespoon of coconut flour to balance the moisture. This works brilliantly if you’re serving after a workout or want a more filling dessert.
What to Serve With Low-Carb Coconut Flour Lava Cake
- A dollop of whipped double cream or coconut cream (lightly sweetened if desired)
- A handful of fresh raspberries or strawberries — their tartness cuts the richness
- A dusting of extra cocoa powder or a pinch of flaky sea salt on top
- For a special treat, pair it with a mug of Your Favourite Hot Beverage — a strong black coffee or a warm cup of peppermint tea works wonderfully
- If you’re keeping the meal low-carb, try serving it after our Quick Beef Enchilada Zucchini Boats For Busy Weeknights for a complete dinner that feels indulgent without the carbs
Still hungry for ideas? You might also love Low Carb Egg Cheese Chaffle, The Complete Keto Breakfast Guide Best Low Carb Morning Ideas from our sister kitchens.
Frequently Asked Questions
Low-Carb Coconut Flour Lava Cake
Ingredients
Method
-
Preheat and prep: Set your oven to 200°C (400°F) and place a baking tray on the middle rack to heat up. Generously butter the inside of four 150ml ramekins and dust them lightly with cocoa powder — tap out the excess. You’ll see a thin, even coating that will help the cakes release cleanly.
-
Melt the chocolate and butter: In a medium heatproof bowl, combine the chopped dark chocolate and melted butter. Microwave in 20-second bursts, stirring between each, until the mixture is smooth and glossy — about 60 to 80 seconds total. The chocolate should be fluid and shiny, with no lumps.
-
Whisk the eggs and sweetener: In a separate large bowl, whisk the eggs, granulated sweetener, and vanilla extract together until the mixture is pale, thick, and slightly foamy — this takes about 1 minute of vigorous whisking. You’ll see the colour lighten and the texture become airy.
-
Combine wet ingredients: Slowly pour the melted chocolate mixture into the egg mixture while whisking continuously. The batter will darken and become glossy, and you’ll smell the rich chocolate aroma. Whisk until fully combined and smooth.
-
Add dry ingredients: Sift the coconut flour, cocoa powder, and salt over the batter. Fold gently with a spatula until no streaks of flour remain. The batter will be thick but not stiff — it should drop slowly from the spatula. If using coffee, stir it in now.
-
Fill the ramekins: Divide the batter evenly among the four prepared ramekins, filling each about three-quarters full. Smooth the tops with the back of a spoon. At this point, you can cover and refrigerate them for up to 24 hours if making ahead.
-
Bake: Place the ramekins on the preheated baking tray in the oven. Bake for exactly 10-12 minutes. The edges should look set and slightly puffed, while the centre will jiggle when you gently shake the tray. The tops will be matte, not shiny, and a skewer inserted 1cm from the edge should come out clean.
-
Rest and serve: Remove from the oven and let the ramekins rest on a wire rack for exactly 1 minute. Run a thin knife around the edge of each ramekin, place a small plate on top, and invert. Lift the ramekin gently — the cake should release with a soft, molten centre spilling out. Serve immediately.
Notes
I make this at least once a week — it’s become a family favourite. I used to struggle with getting the lava centre just right until I discovered the trick of letting the ramekins rest for exactly one minute before inverting. That tiny pause makes all the difference between a perfect pour and a sad puddle. If you give this a try, I’d love to hear how it went. Drop a comment below or tag me in your photos — nothing makes my day like seeing a molten centre on your plate. Happy baking!